Mac 개발 환경 설정 가이드
macOS는 개발 환경 설정이 비교적 간단하고 효율적이며, 직관적인 인터페이스를 제공하여 개발자에게 매우 인기가 많습니다. 여기서는 macOS에서의 기본적인 사용법과 터미널 설정, 주요 개발 툴을 설치하고 활용하는 방법을 단계별로 안내합니다.
1. macOS 기본 사용법
macOS는 기본적으로 매우 직관적인 운영 체제입니다. 기본적인 사용법을 익히는 것만으로도 대부분의 작업을 손쉽게 할 수 있습니다.
- Finder: macOS의 파일 탐색기입니다. 윈도우의 탐색기와 비슷하지만, 훨씬 직관적이고 빠릅니다.
- Spotlight: Command + Space를 눌러 Spotlight 검색을 열고, 프로그램 실행, 파일 검색, 웹 검색 등을 할 수 있습니다.
- System Preferences: macOS의 시스템 설정을 조정하는 곳입니다. 원하는 설정을 쉽게 찾을 수 있도록 구조화되어 있습니다.
- Mission Control: F3 키나 Control + Up으로 모든 열린 창을 한눈에 볼 수 있습니다. 여러 개의 작업 공간(데스크탑)을 관리할 수 있습니다.
2. 시스템 기본 설정
2.1 키보드 설정
# 키 반복 속도 설정
defaults write -g KeyRepeat -int 1
defaults write -g InitialKeyRepeat -int 10
# 한/영 전환키 설정
# System Settings > Keyboard > Keyboard Shortcuts > Input Sources
2.2 Finder 설정
# 숨김 파일 표시
defaults write com.apple.finder AppleShowAllFiles YES
killall Finder
# 파일 확장자 표시
defaults write NSGlobalDomain AppleShowAllExtensions -bool true
killall Finder
3. 개발자 도구 설치
3.1 Xcode Command Line Tools
xcode-select --install
3.2 Rosetta 2 (M1/M2 Mac 사용자)
softwareupdate --install-rosetta
4. 패키지 관리자 설정
4.1 Homebrew 설치
/bin/bash -c "$(curl -fsSL https://raw.githubusercontent.com/Homebrew/install/HEAD/install.sh)"
# M1/M2 Mac의 경우 PATH 설정 추가
echo 'eval "$(/opt/homebrew/bin/brew shellenv)"' >> ~/.zshrc
4.2 필수 패키지 설치
# 기본 도구
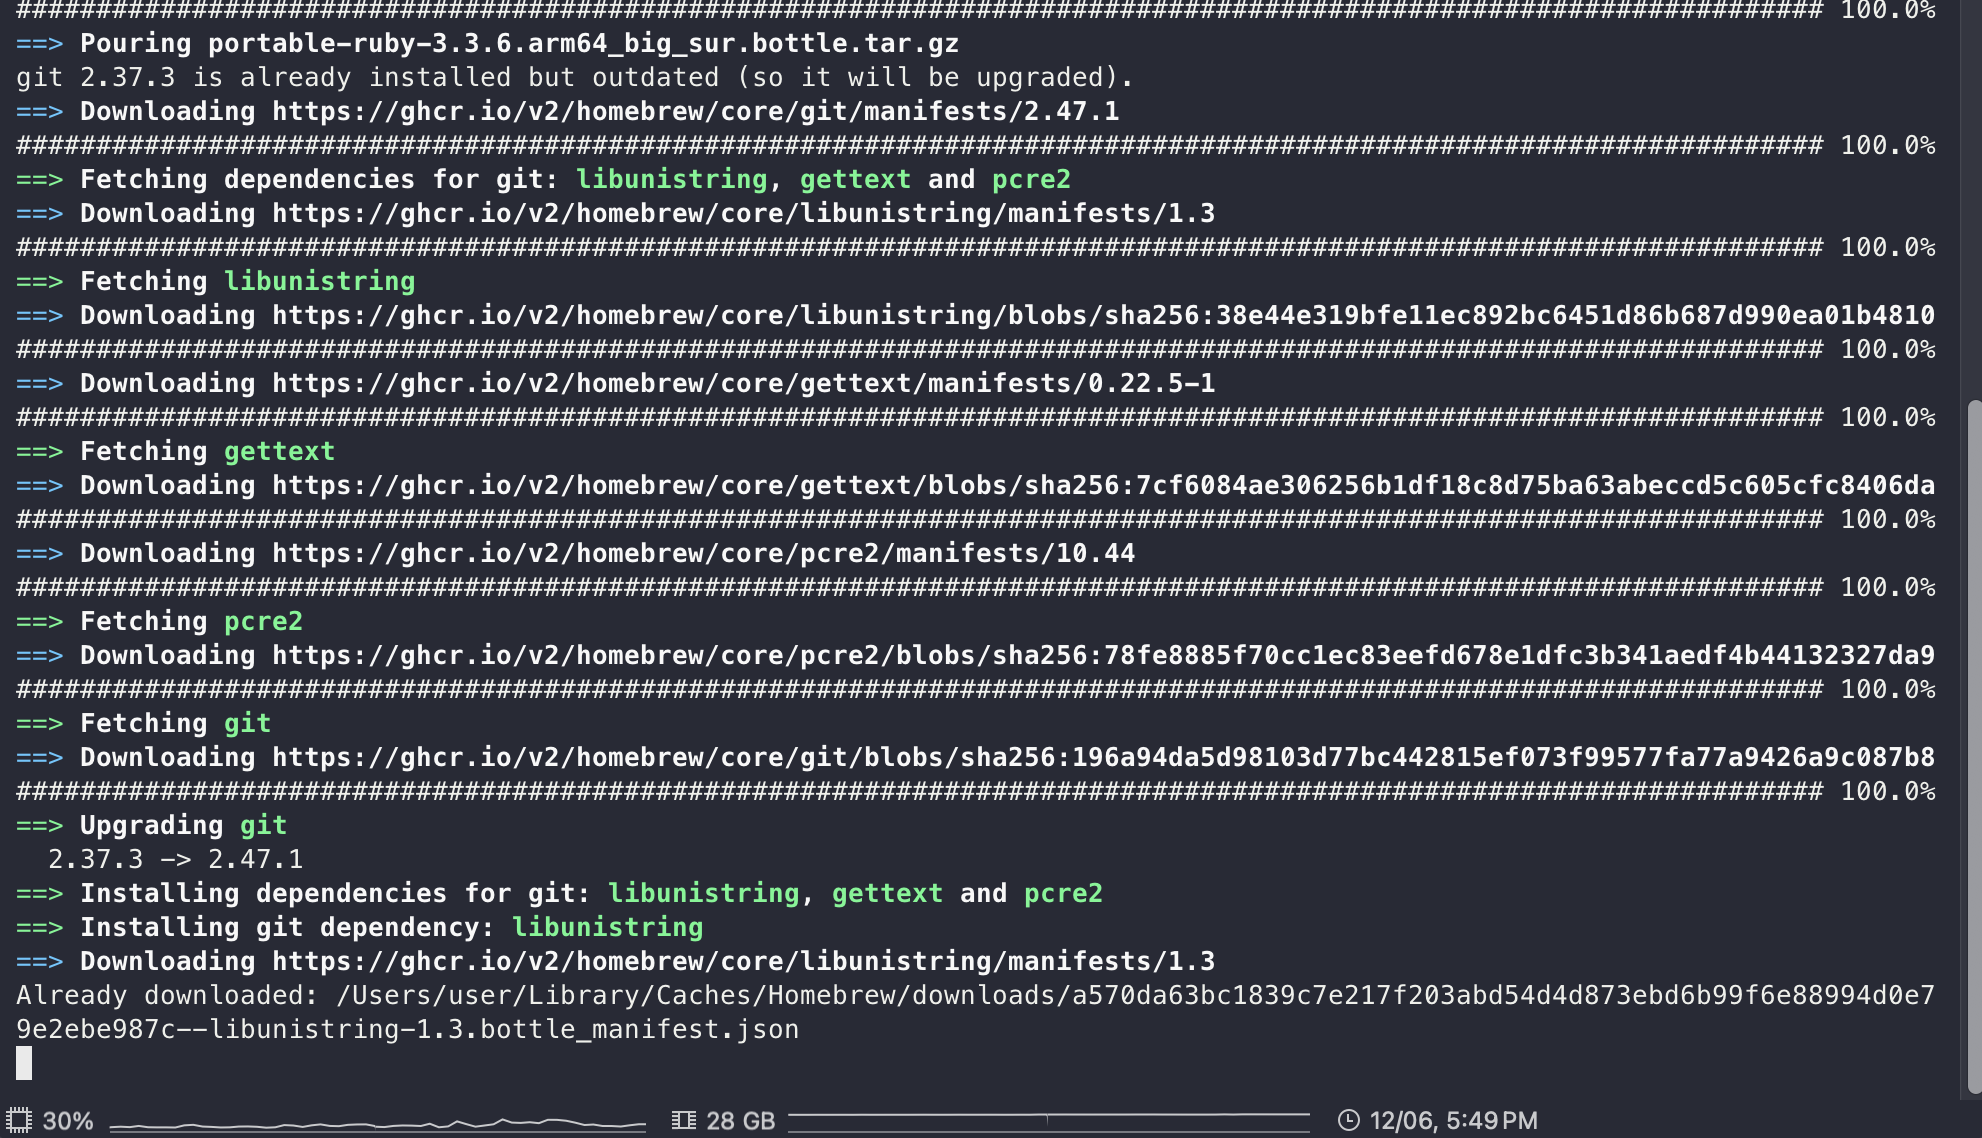
brew install git
brew install wget
brew install curl
brew install tree
brew install htop
brew install jq
brew install fzf
brew install ripgrep
brew install fd
# 개발 도구
brew install node
brew install python
brew install go
brew install openjdk
5. 터미널 환경 설정
5.1 iTerm2 설치 및 설정
brew install --cask iterm2
# Snazzy 테마 설치
curl -O https://raw.githubusercontent.com/sindresorhus/iterm2-snazzy/main/Snazzy.itermcolors
5.2 Oh My Zsh 설치 및 플러그인
# Oh My Zsh 설치
sh -c "$(curl -fsSL https://raw.github.com/ohmyzsh/ohmyzsh/master/tools/install.sh)"
# 유용한 플러그인 설치
git clone https://github.com/zsh-users/zsh-autosuggestions ${ZSH_CUSTOM:-~/.oh-my-zsh/custom}/plugins/zsh-autosuggestions
git clone https://github.com/zsh-users/zsh-syntax-highlighting.git ${ZSH_CUSTOM:-~/.oh-my-zsh/custom}/plugins/zsh-syntax-highlighting
5.3 Powerlevel10k 테마 설정
git clone --depth=1 https://github.com/romkatv/powerlevel10k.git ${ZSH_CUSTOM:-$HOME/.oh-my-zsh/custom}/themes/powerlevel10k
# ~/.zshrc 파일 수정
ZSH_THEME="powerlevel10k/powerlevel10k"
6. 개발 도구 설치
6.1 Visual Studio Code 설치 및 설정
brew install --cask visual-studio-code
# 추천 확장 프로그램
code --install-extension dbaeumer.vscode-eslint
code --install-extension esbenp.prettier-vscode
code --install-extension ms-python.python
code --install-extension golang.go
code --install-extension PKief.material-icon-theme
6.2 Docker 설치
brew install --cask docker
# Docker Compose
brew install docker-compose
7. 개발 생산성 도구
7.1 버전 관리 도구 (asdf)
brew install asdf
# Node.js 설치
asdf plugin add nodejs
asdf install nodejs latest
asdf global nodejs latest
# Python 설치
asdf plugin add python
asdf install python latest
asdf global python latest
7.2 데이터베이스 도구
brew install --cask dbeaver-community
brew install --cask mongodb-compass
8. 생산성 앱 설치
8.1 필수 앱
# 창 관리
brew install --cask rectangle
# 클립보드 관리
brew install --cask clipy
# API 테스트
brew install --cask postman
# 메모 및 문서
brew install --cask notion
8.2 터미널 유틸리티
# 파일 탐색
brew install ranger
# 시스템 모니터링
brew install htop
# JSON 처리
brew install jq
# 터미널 녹화
brew install asciinema
9. Git 설정
9.1 기본 설정
git config --global user.name "Your Name"
git config --global user.email "your.email@example.com"
# 기본 브랜치 이름 설정
git config --global init.defaultBranch main
# 편집기 설정
git config --global core.editor "code --wait"
9.2 SSH 키 생성
ssh-keygen -t ed25519 -C "your.email@example.com"
eval "$(ssh-agent -s)"
ssh-add ~/.ssh/id_ed25519
10. 추가 설정
10.1 vim 설정
# Neovim 설치
brew install neovim
# vim-plug 설치
sh -c 'curl -fLo "${XDG_DATA_HOME:-$HOME/.local/share}"/nvim/site/autoload/plug.vim --create-dirs \
https://raw.githubusercontent.com/junegunn/vim-plug/master/plug.vim'
10.2 tmux 설정
# tmux 설치
brew install tmux
# Oh My Tmux 설치
cd
git clone https://github.com/gpakosz/.tmux.git
ln -s -f .tmux/.tmux.conf
cp .tmux/.tmux.conf.local .
11. 백업 및 복원
11.1 Homebrew Bundle
# 현재 설치된 패키지 백업
brew bundle dump
# 백업된 패키지 복원
brew bundle
11.2 설정 파일 백업
# dotfiles 저장소 생성 및 관리
git init --bare $HOME/.dotfiles
alias dotfiles='/usr/bin/git --git-dir=$HOME/.dotfiles/ --work-tree=$HOME'
결론
위의 단계들을 통해 macOS 개발 환경을 잘 설정하면, 보다 효율적인 개발이 가능하고, 다른 개발자들에게 "고급 개발자"처럼 보이는 효과도 있을 것입니다. 이 모든 설정을 통해, 여러분은 최적화된 개발 환경에서 빠르고 생산적인 작업을 할 수 있게 될 것입니다.